Overlay

Step 1

Learn how to get your team ready before your smartcard arrives and get a feel for Bankline

Before your smartcard and reader arrive

Your smartcard, card reader and smartcard PIN will arrive around 7 days after the ‘Step 1’ email we sent. While you’re waiting, there’s plenty to do to get ready.

This is the ideal time to talk to your team and gather the info you need. 

Your role as an administrator

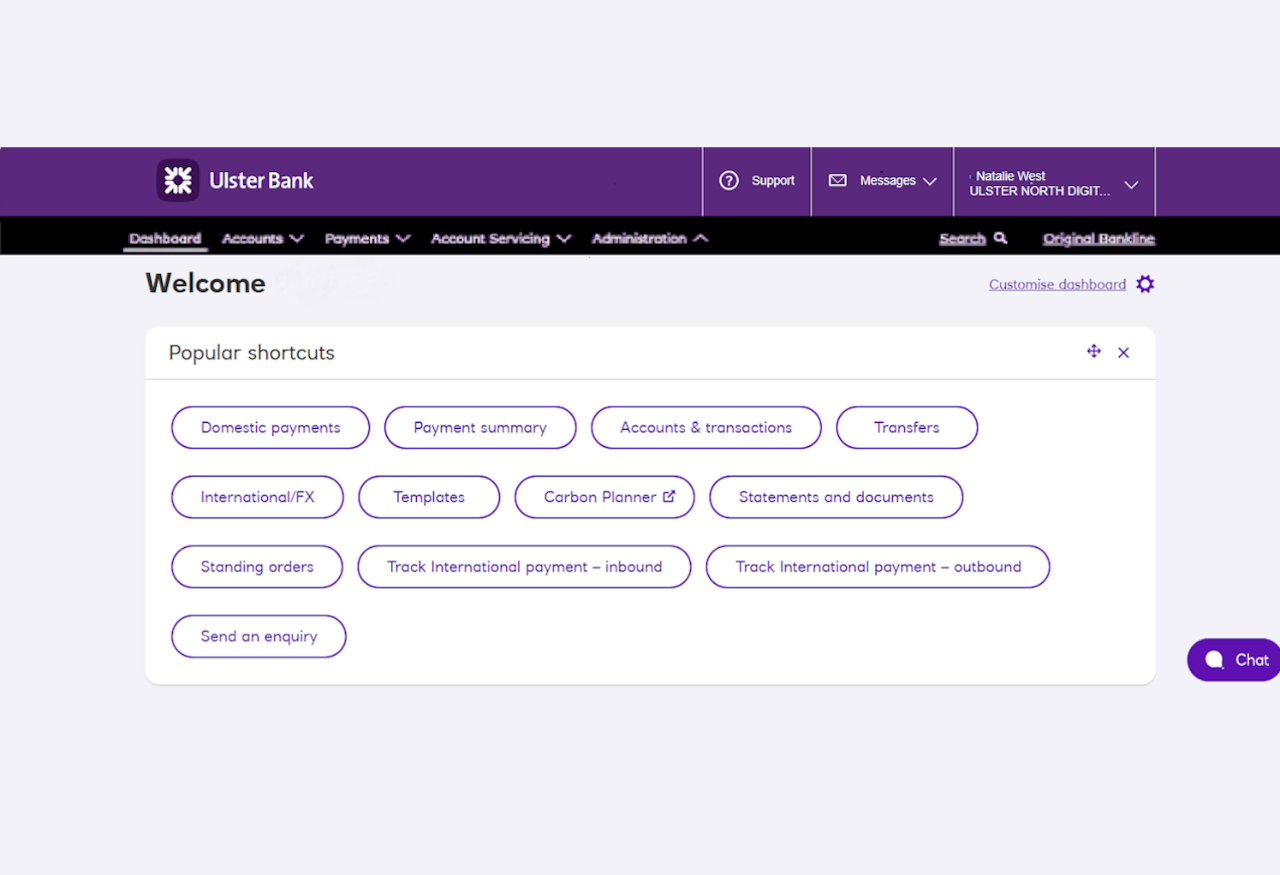
As an administrator, you play a crucial role in how your business uses Bankline. 

You’ll have responsibility for: 

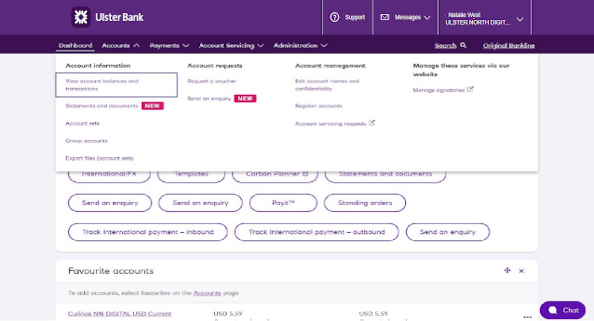
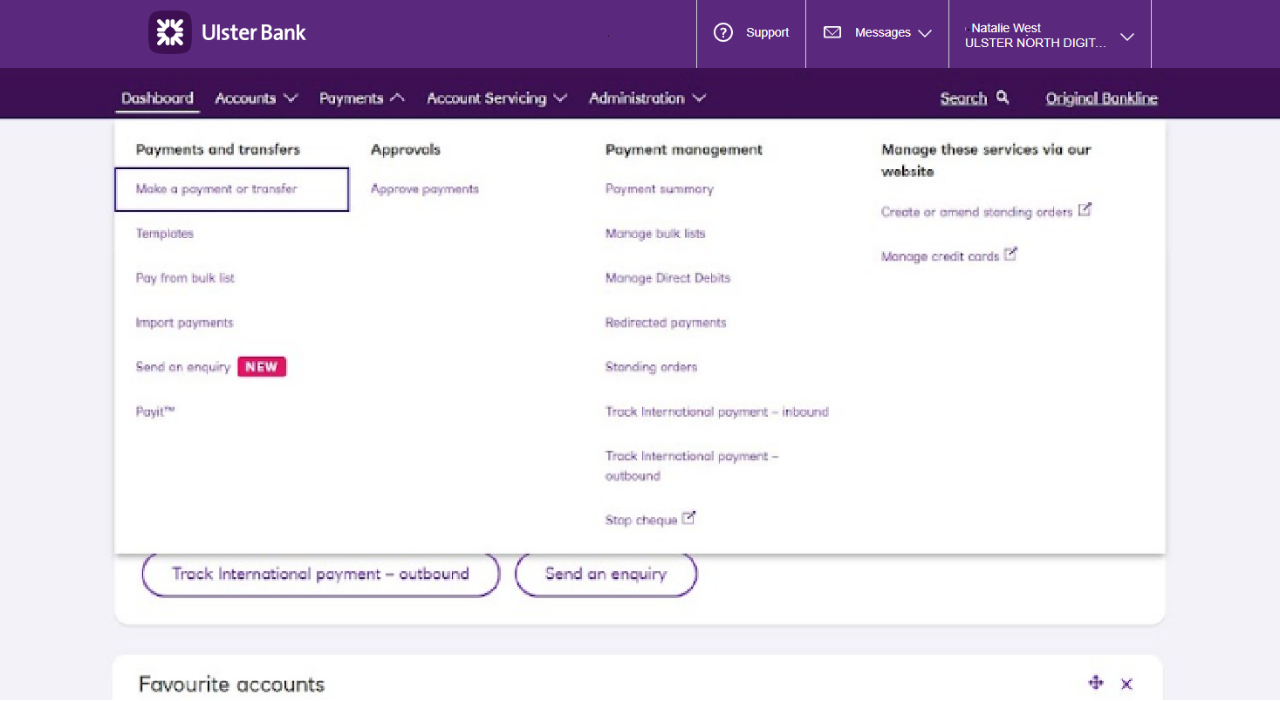
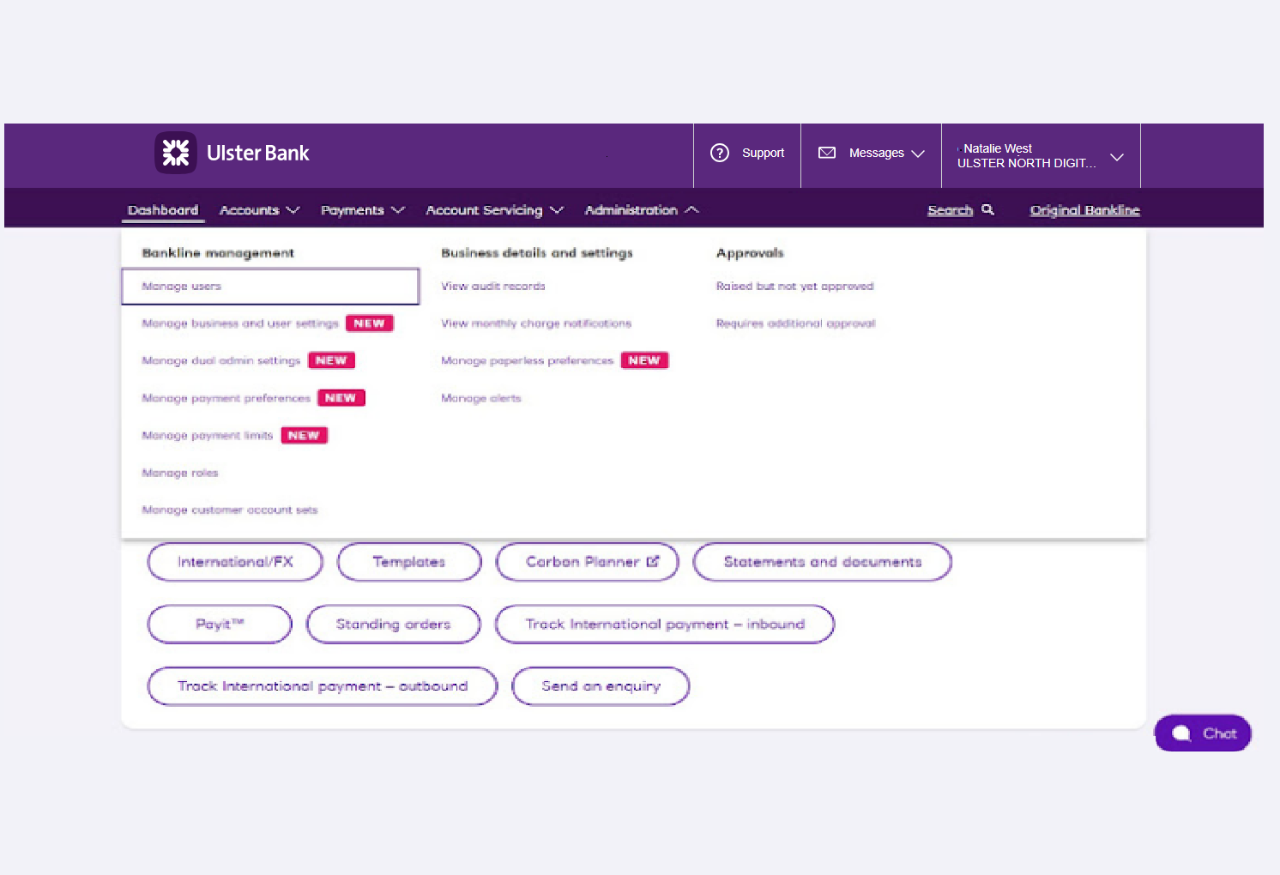
  • Adding accounts and setting payment controls. 
  • Creating new users and setting what they can do.
  • Supporting your users with day-to-day things like system access. 
  • Helping your team get the best from Bankline. 

Tip: No need to go it alone. You can create more administrators to share the responsibility– especially useful for holiday cover.

Set your organisation up well and you’ll be saving time, syncing Bankline with your business processes and running your finances securely. Plus, you’ll be a Bankline pro in no time, with transferable expertise in digital finances and system management.

Here’s what you’ll need to do in that crucial first week before you log in.

Take a quick tour

To get a feel for how Bankline works, take a look at  the dashboard below and explore the key areas of Bankline.

Choose an area to learn more: 

Preparation activity

Planning session with your team

Firstly, you’ll need to discuss with your team who needs access to Bankline and what they’ll do there.  

Your task: hold a planning session to gather key info like who needs access, and agree what jobs your users will be doing in Bankline. (This will inform what ‘roles’ you give them in Bankline.) Use the workbook to note down the key points. 


What to cover in the planning session:

Here’s an overview of what to cover. For more details, see the sections below and use the workbook, where you’ll find specific questions to ask. 

  • Collect email and postal addresses for each person who needs access.
  • Decide which accounts you want to add to Bankline and who needs access to them. (The number of accounts added may affect your monthly fees. Read about account fees (PDF, 306 KB) ).
  • Note down what kind of tasks each user will be doing (eg raising payments).
  • Note down some rough estimates for payment limits.
Information Message

Info to help with the planning session

To have a good planning session, you’ll need to know a bit more about how key parts of Bankline work.   

Payment limits and preferences

Bankline has various payment limits and controls to help keep your finances secure and support your security processes.  

You can update these settings anytime, but it’s a good idea to start off with some limits and controls in place.  

How to decide on limits and controls?


Ask yourself and your team these questions, and jot the answers down in your workbook. This will help you decide on your settings.  

Tip:

Look back on the last quarter’s payment activity to help find answers to the top two questions. When deciding payment limits, keep in mind that, if your profile is ever compromised by a scam or fraud, effective limits may help protect you from greater losses.

Bankline can evolve with your business. You can always change your payment limits if circumstances change. 

Accounts

  • Decide which accounts you want to add to Bankline and note the details down in the workbook. 
  • Can everyone on your profile have access to all accounts, or do you need to separate things so only certain users can access certain accounts?
  • You can also set certain accounts as confidential. That means only users with a specific ‘privilege’ will be able to view them. Note down in the workbook if there’s any you want to make confidential. 

Tips:

If you need to, you can also add accounts that sit under a different legal entity to your main business account. We call these ‘third-party accounts’. 

Giving roles to your users

Roles control what users can see and do in Bankline. You can give each user as many roles as they need.

We’ll come back to setting up roles when you’re logged in. But it’s handy to know how they work, to help with your conversations about what tasks your team members will do in Bankline. 

Deciding what roles are right for your team

Master roles

Bankline has ready-made ‘master’ roles which cover some of the most common types of tasks users do. They apply across all accounts in Bankline. Think of master roles like your set menu options at a restaurant.

Customer roles

There are some cases where you might need something more specific, for example, if you want to give users access to raise payments only on certain accounts. That’s where customisable ‘customer roles’ come in.

Make a note of any user you think this may apply to, and we’ll explain how to create customer roles for them when you’re logged in in Step 2.

Overview of common ‘master roles’

Here are the most common master roles, and what they do.

What role or combination of roles would work for you and your users?

Administrator

(Standard admin)

That’s you! And anyone else who’s going to share admin duties. This lets the holder manage payment preferences and controls, set up and manage accounts, and set up users and manage what they can do.  

Information Message

Account operator

This one’s for viewing balances and transactions. It also lets you register and manage accounts. Particularly useful for anyone doing account reconciliation.

Information Message

Key all payments

(Key All Pymts)

Need a user to raise and edit payments of all types? This is the role for you.  Note, this won’t let the user approve any payments.

You can set up custom payment roles, to limit this role to certain payment types.

Information Message

Authorise all payments

This won’t let the user raise or edit payments, but it will let them approve any payments raised in Bankline. They can’t approve any payments they’ve raised themselves. 

You can customise it to apply to certain types of payments.

Information Message

Planning session activity

Review the master roles with your team. Decide whether these will work for your business, and who will need which roles. 

If there are users who might need customer roles, note that down too. 

TipIt’s unlikely anyone will need access to everything. To keep things safe, make sure to set up users so they only have the roles and access they need.

That's all for Step 1

We’ve now been through everything you’ll need for the planning session. 

In the coming weeks, you’ll need to spend time setting up users and accounts and helping your team with Bankline. We recommend blocking out some time in advance for this.

Best of luck with your planning session! 

If you’d like to get a feel for Bankline and a sneak preview of what’s coming up in Step 2, you can always have a read of the Bankline blog, or download our support guides.

Have a cup of tea, you've earned it!